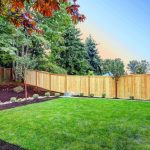
Brick masonry has stood the test of time as one of the most durable and visually appealing construction methods. Whether it’s building a garden wall, patio edge, or outdoor kitchen, the process of brick masonry construction requires precision, planning, and professional skill.
In this guide, we’ll walk you through the step-by-step process of brick masonry, explaining each stage — from preparing the site and mixing mortar to laying bricks and finishing — so you can better understand how A-Z Landscaping delivers long-lasting results.
Step 1 — Site Preparation and Planning
Survey and Foundation Layout
- Evaluate the construction site for drainage, soil stability, and level ground.
- Mark out the layout with chalk lines or stakes for accuracy.
Excavation and Base Preparation
- Excavate the foundation trench according to project specifications.
- Add a compacted gravel layer to ensure stability and prevent settling.
Importance of a Solid Foundation
A proper foundation ensures longevity and strong load-bearing capacity for the masonry structure.
Step 2 — Material Selection and Mortar Preparation
Choosing the Right Bricks
- Common options include burnt clay bricks, engineering bricks, and concrete bricks.
- Select bricks based on durability and aesthetic appeal for landscaping applications.
Mixing the Mortar
- Standard ratio: 1 part cement : 6 parts sand (adjust for climate or project needs).
- Add clean water gradually until the mixture becomes smooth and workable.
Tools and Safety Tips
- Essential tools: trowels, levels, jointers, plumb lines.
- Wear protective gloves and proper safety equipment.
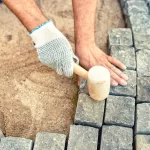
Step 3 — Laying the Foundation Course
Spreading the Mortar Bed
- Apply a uniform layer of mortar on the foundation surface.
- Check alignment with a spirit level before setting the first brick.
Placing the First Bricks
- Set corner bricks first to establish accurate height and straight lines.
- Use a mason’s line stretched between corners for guidance.
Checking Alignment and Plumb
- Ensure vertical and horizontal accuracy at every layer using a plumb bob.
- A-Z Landscaping maintains strict craftsmanship standards for every project.
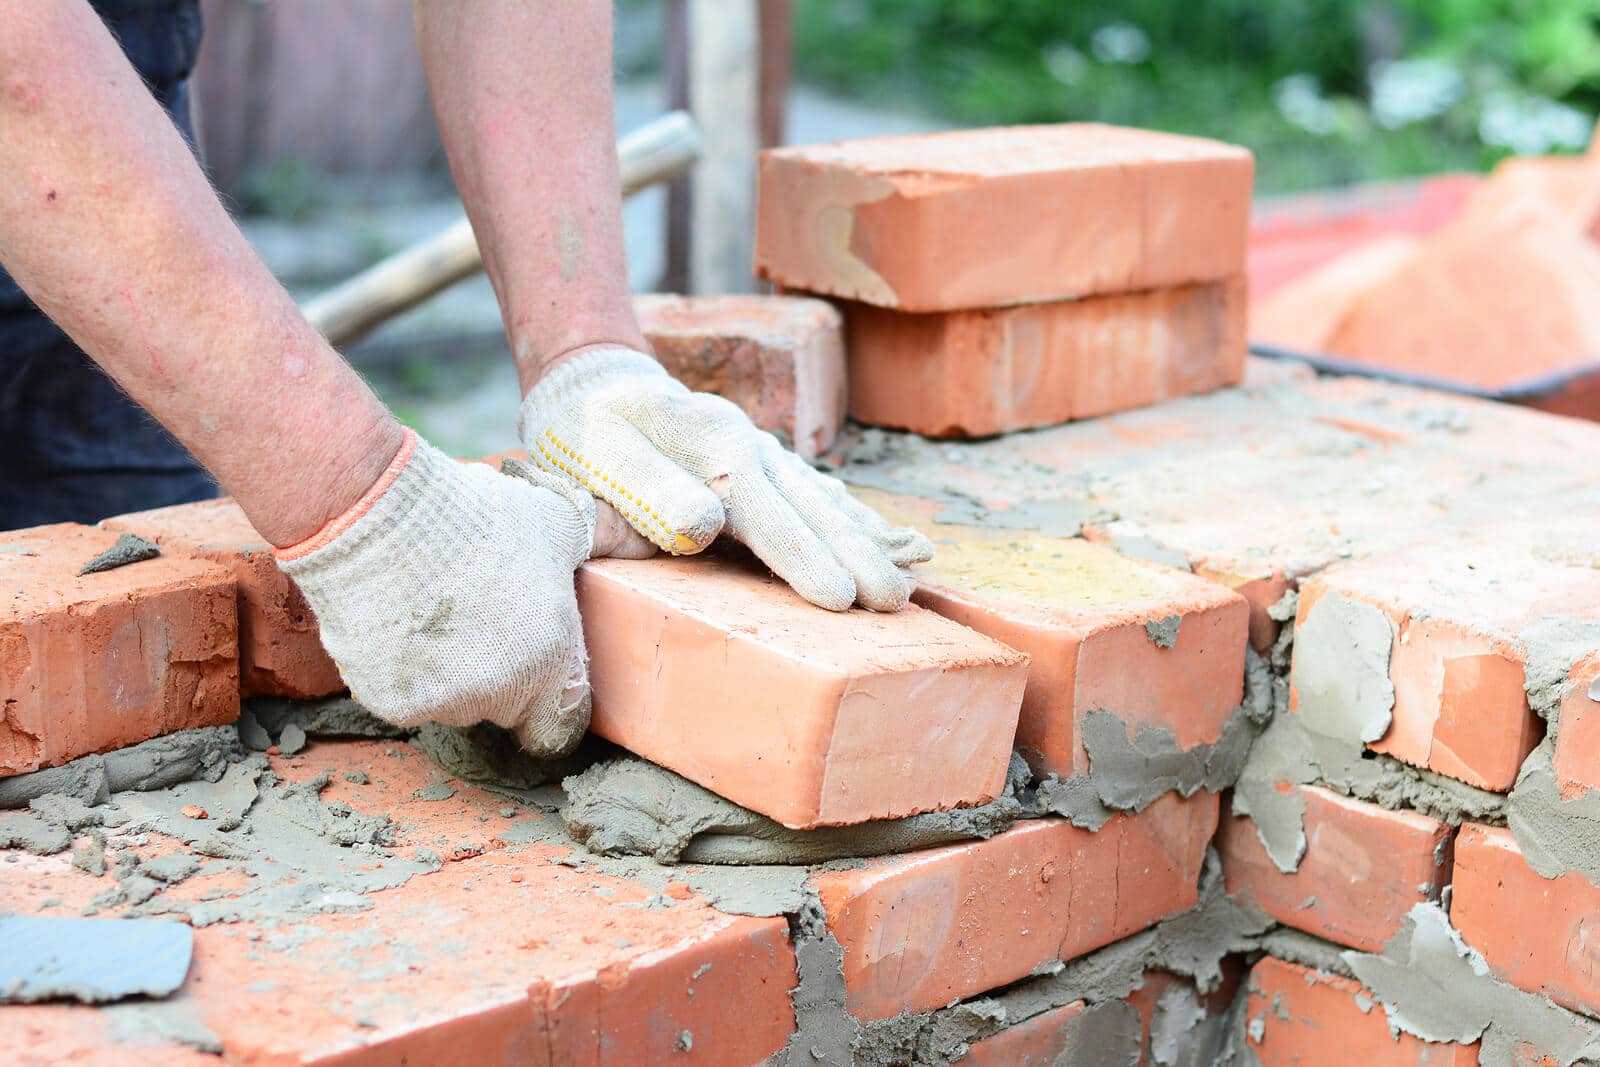
Step 4 — Building the Brick Wall
Staggering the Joints
- Use a half-brick overlap pattern (stretcher bond) for enhanced wall strength.
- Fill vertical joints completely to prevent structural weaknesses.
Maintaining Joint Thickness
- Standard joint thickness is 10 mm.
- Consistent joints improve both appearance and structural distribution.
Removing Excess Mortar
- Clean excess mortar with a trowel or brush before it fully sets.
- This prevents uneven surfaces and enhances finish quality.
Step 5 — Curing and Finishing the Masonry
Curing Process
- Keep brickwork moist for 7–10 days to ensure proper bonding.
- Avoid exposing new masonry to direct sunlight or heavy rainfall.
Finishing Touches
- Smooth out joints or apply a chosen joint profile (concave, flush, or raked).
- Apply a waterproof sealant for added weather resistance.
Step 6 — Common Mistakes to Avoid in Brick Masonry
- Using uneven mortar mixes.
- Ignoring curing time.
- Failing to align the first course properly.
- Neglecting expansion joints for larger walls.
- Using low-quality bricks or improper tools.
A-Z Landscaping ensures every project follows industry best practices for safety, strength, and visual appeal.
FAQs About Brick Masonry Construction
Q1: How long does brick masonry construction take?
A typical outdoor wall or feature can take a few days to a week, depending on size and design complexity.
Q2: Can brick masonry be done in cold or rainy weather?
Yes, but it requires precautions such as covering work areas and adjusting mortar mix ratios.
Q3: Is professional installation worth it?
Absolutely — experienced masons ensure proper alignment, durability, and long-term water resistance.
Why Choose A-Z Landscaping for Brick Masonry Projects
Skilled Masons, Lasting Results
“At A-Z Landscaping LLC, we combine time-tested techniques with modern tools to deliver precision-built brick masonry for patios, walls, and outdoor living spaces . Our team handles every phase — from design and materials to finishing — ensuring your landscape stands strong and looks beautiful year after year.”